

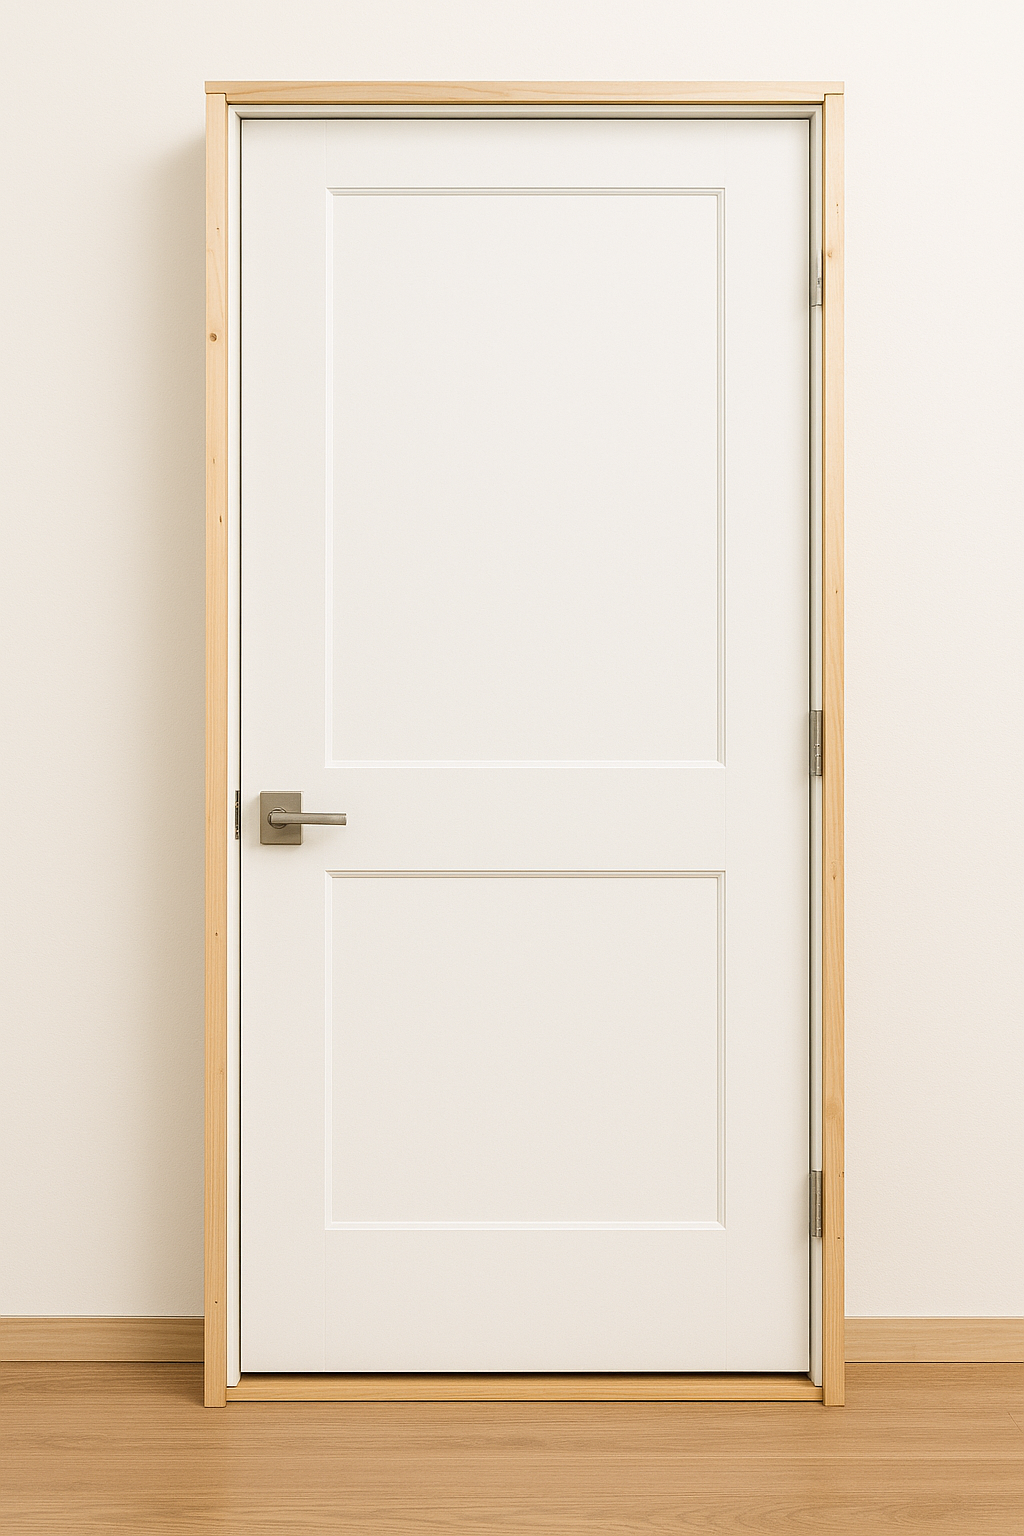
Installing a pre-hung door can transform your space. It’s a straightforward project for any DIY enthusiast.
Pre-hung doors come with the door already attached to a frame. This makes the installation process much simpler.
They are perfect for replacing old doors or for new construction projects where the rough opening are a standard size
and pre hung doors will save a lot of time and effort.
Before you start, it’s crucial to measure the door opening accurately. We always say “measure twice, cut once” this ensures a perfect fit.
You’ll need some basic tools like a level, tape measure, and screwdriver. Having the right tools makes the job easier.
Removing the old door and frame is the first step. Do this carefully to avoid damaging the wall.
Once the old door is out, check the rough opening for level and plumb. This is essential for a smooth installation.
With the right preparation, installing a pre-hung door can be a rewarding project. Enjoy the process!
What Is a Pre-Hung Door?
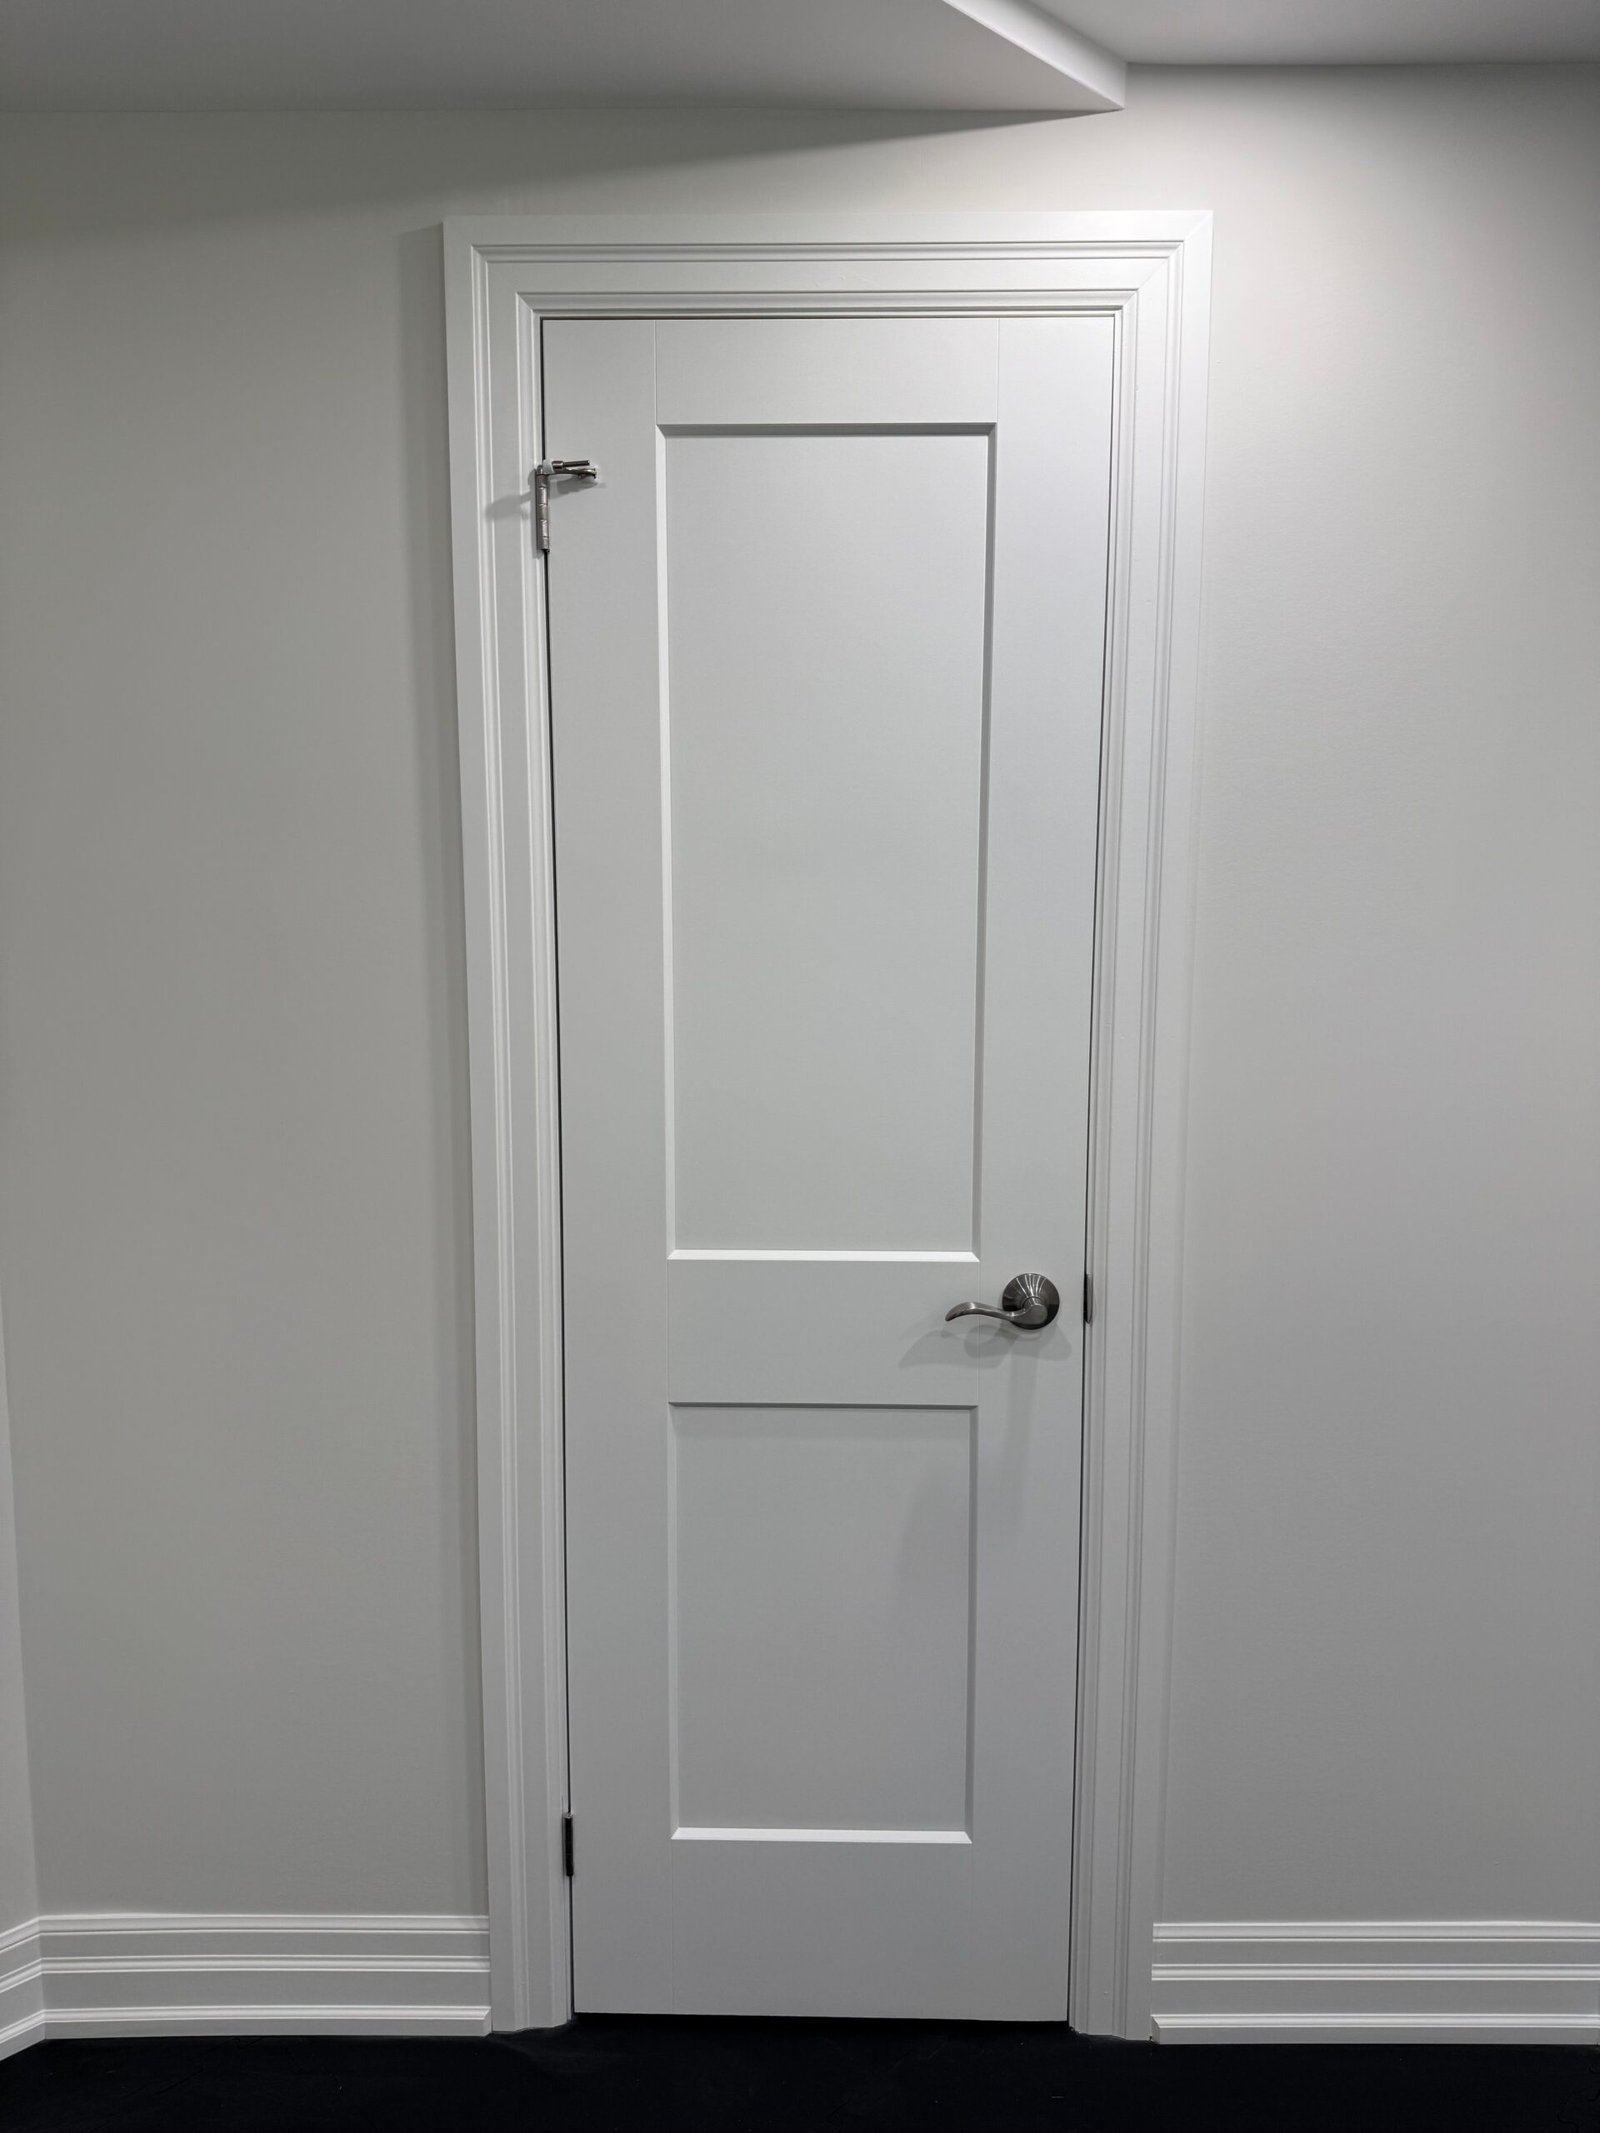
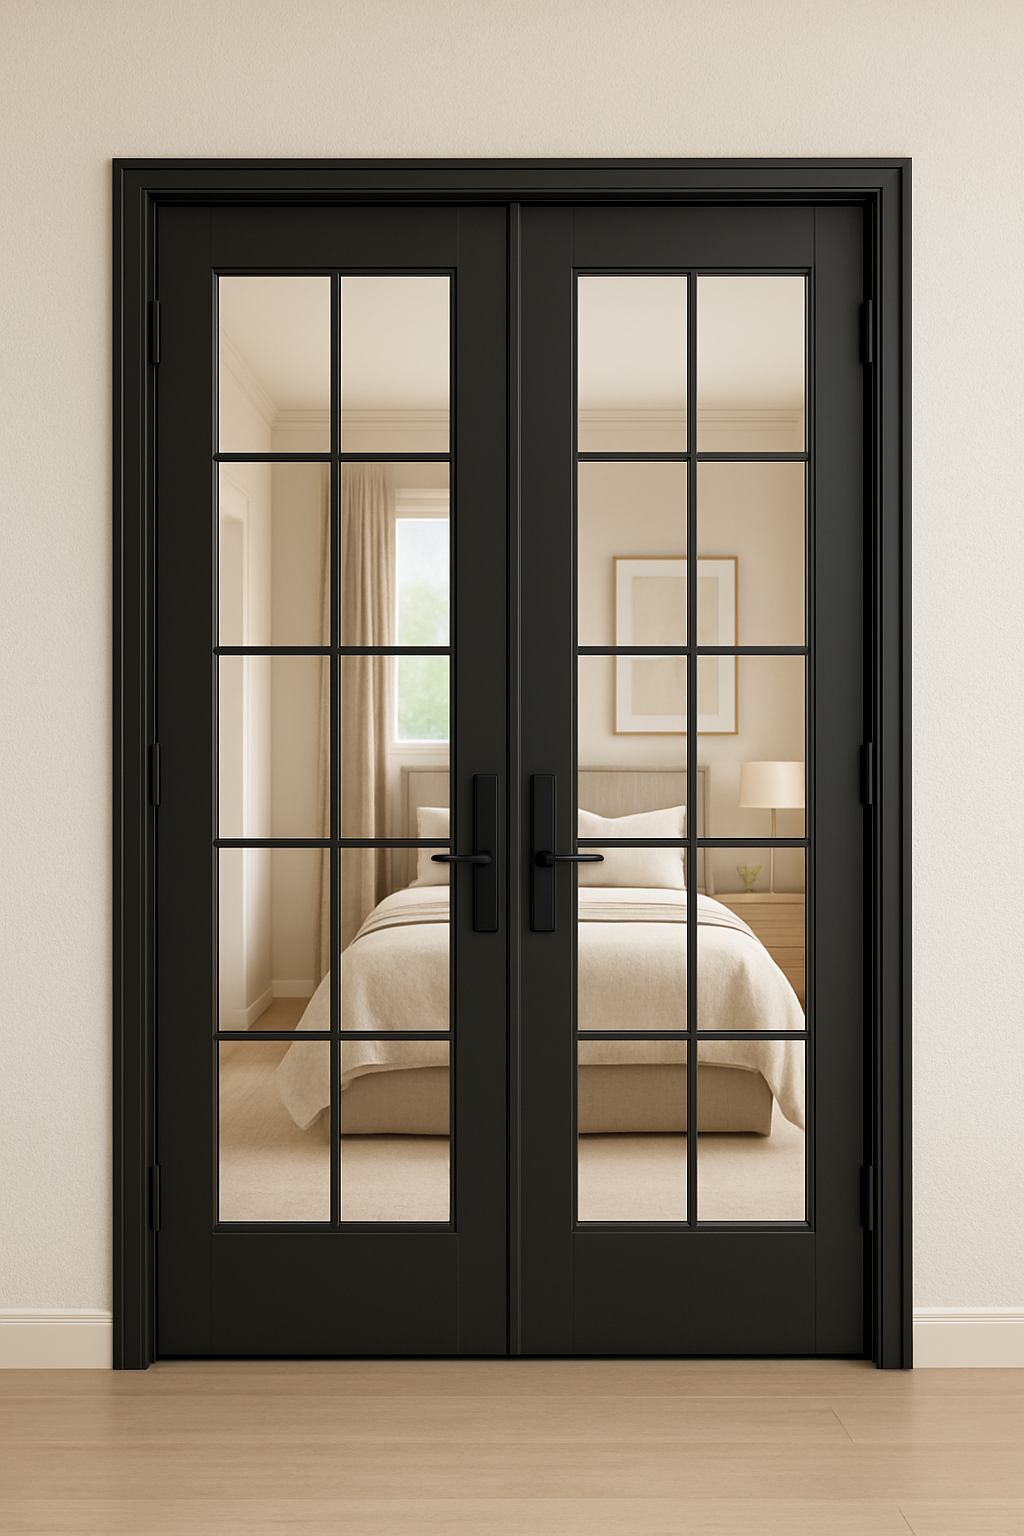
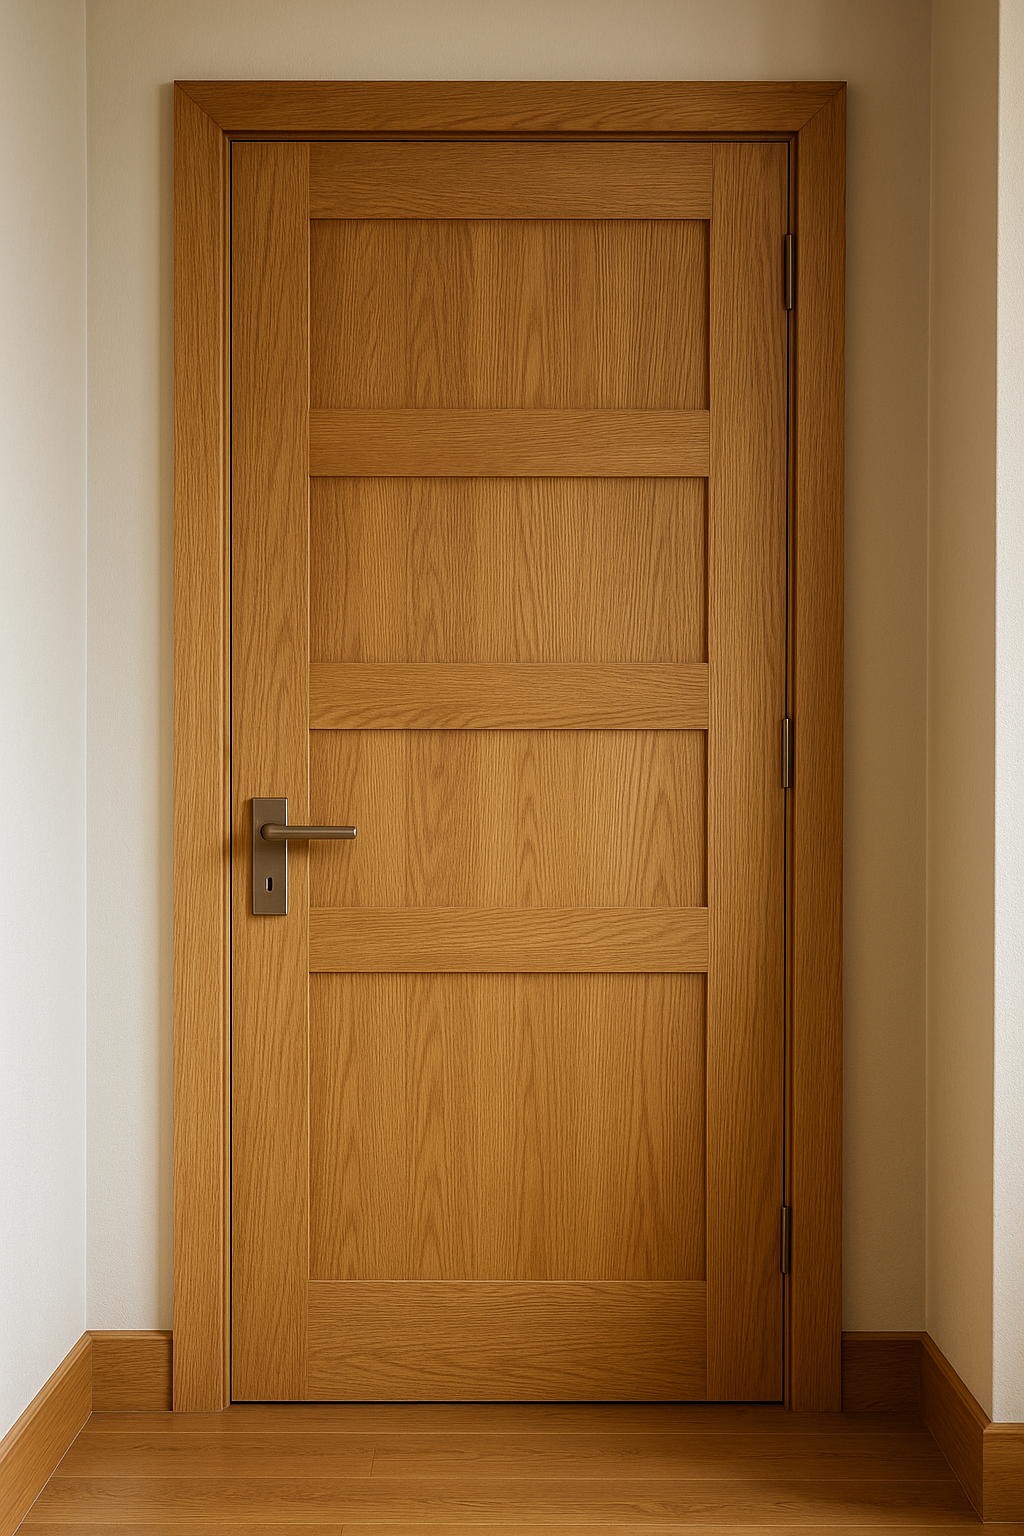
Pre-hung doors are a popular choice in modern home renovation. But what exactly are they?
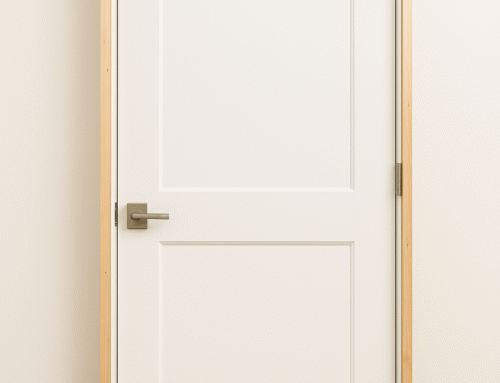
A pre-hung door comes with the door already affixed to its own frame. This package simplifies the installation process considerably.
To better understand, let’s break down what you get:
- The door itself, ready and hinged
- A complete frame, pre-assembled
- Pre-cut areas for the door handle and lock

These doors make interior door replacement smoother by eliminating the need for separate frame assembly. They fit neatly into a rough opening.
Pre-hung doors are especially useful for DIY projects. They allow homeowners to efficiently replace doors without professional help. Knowing what makes up a pre-hung door helps in planning your project. Consider style and material options to match your home decor. The streamlined nature of these doors makes them ideal for quick, efficient door updates.
Benefits of Pre-Hung Doors for Interior Door Replacement
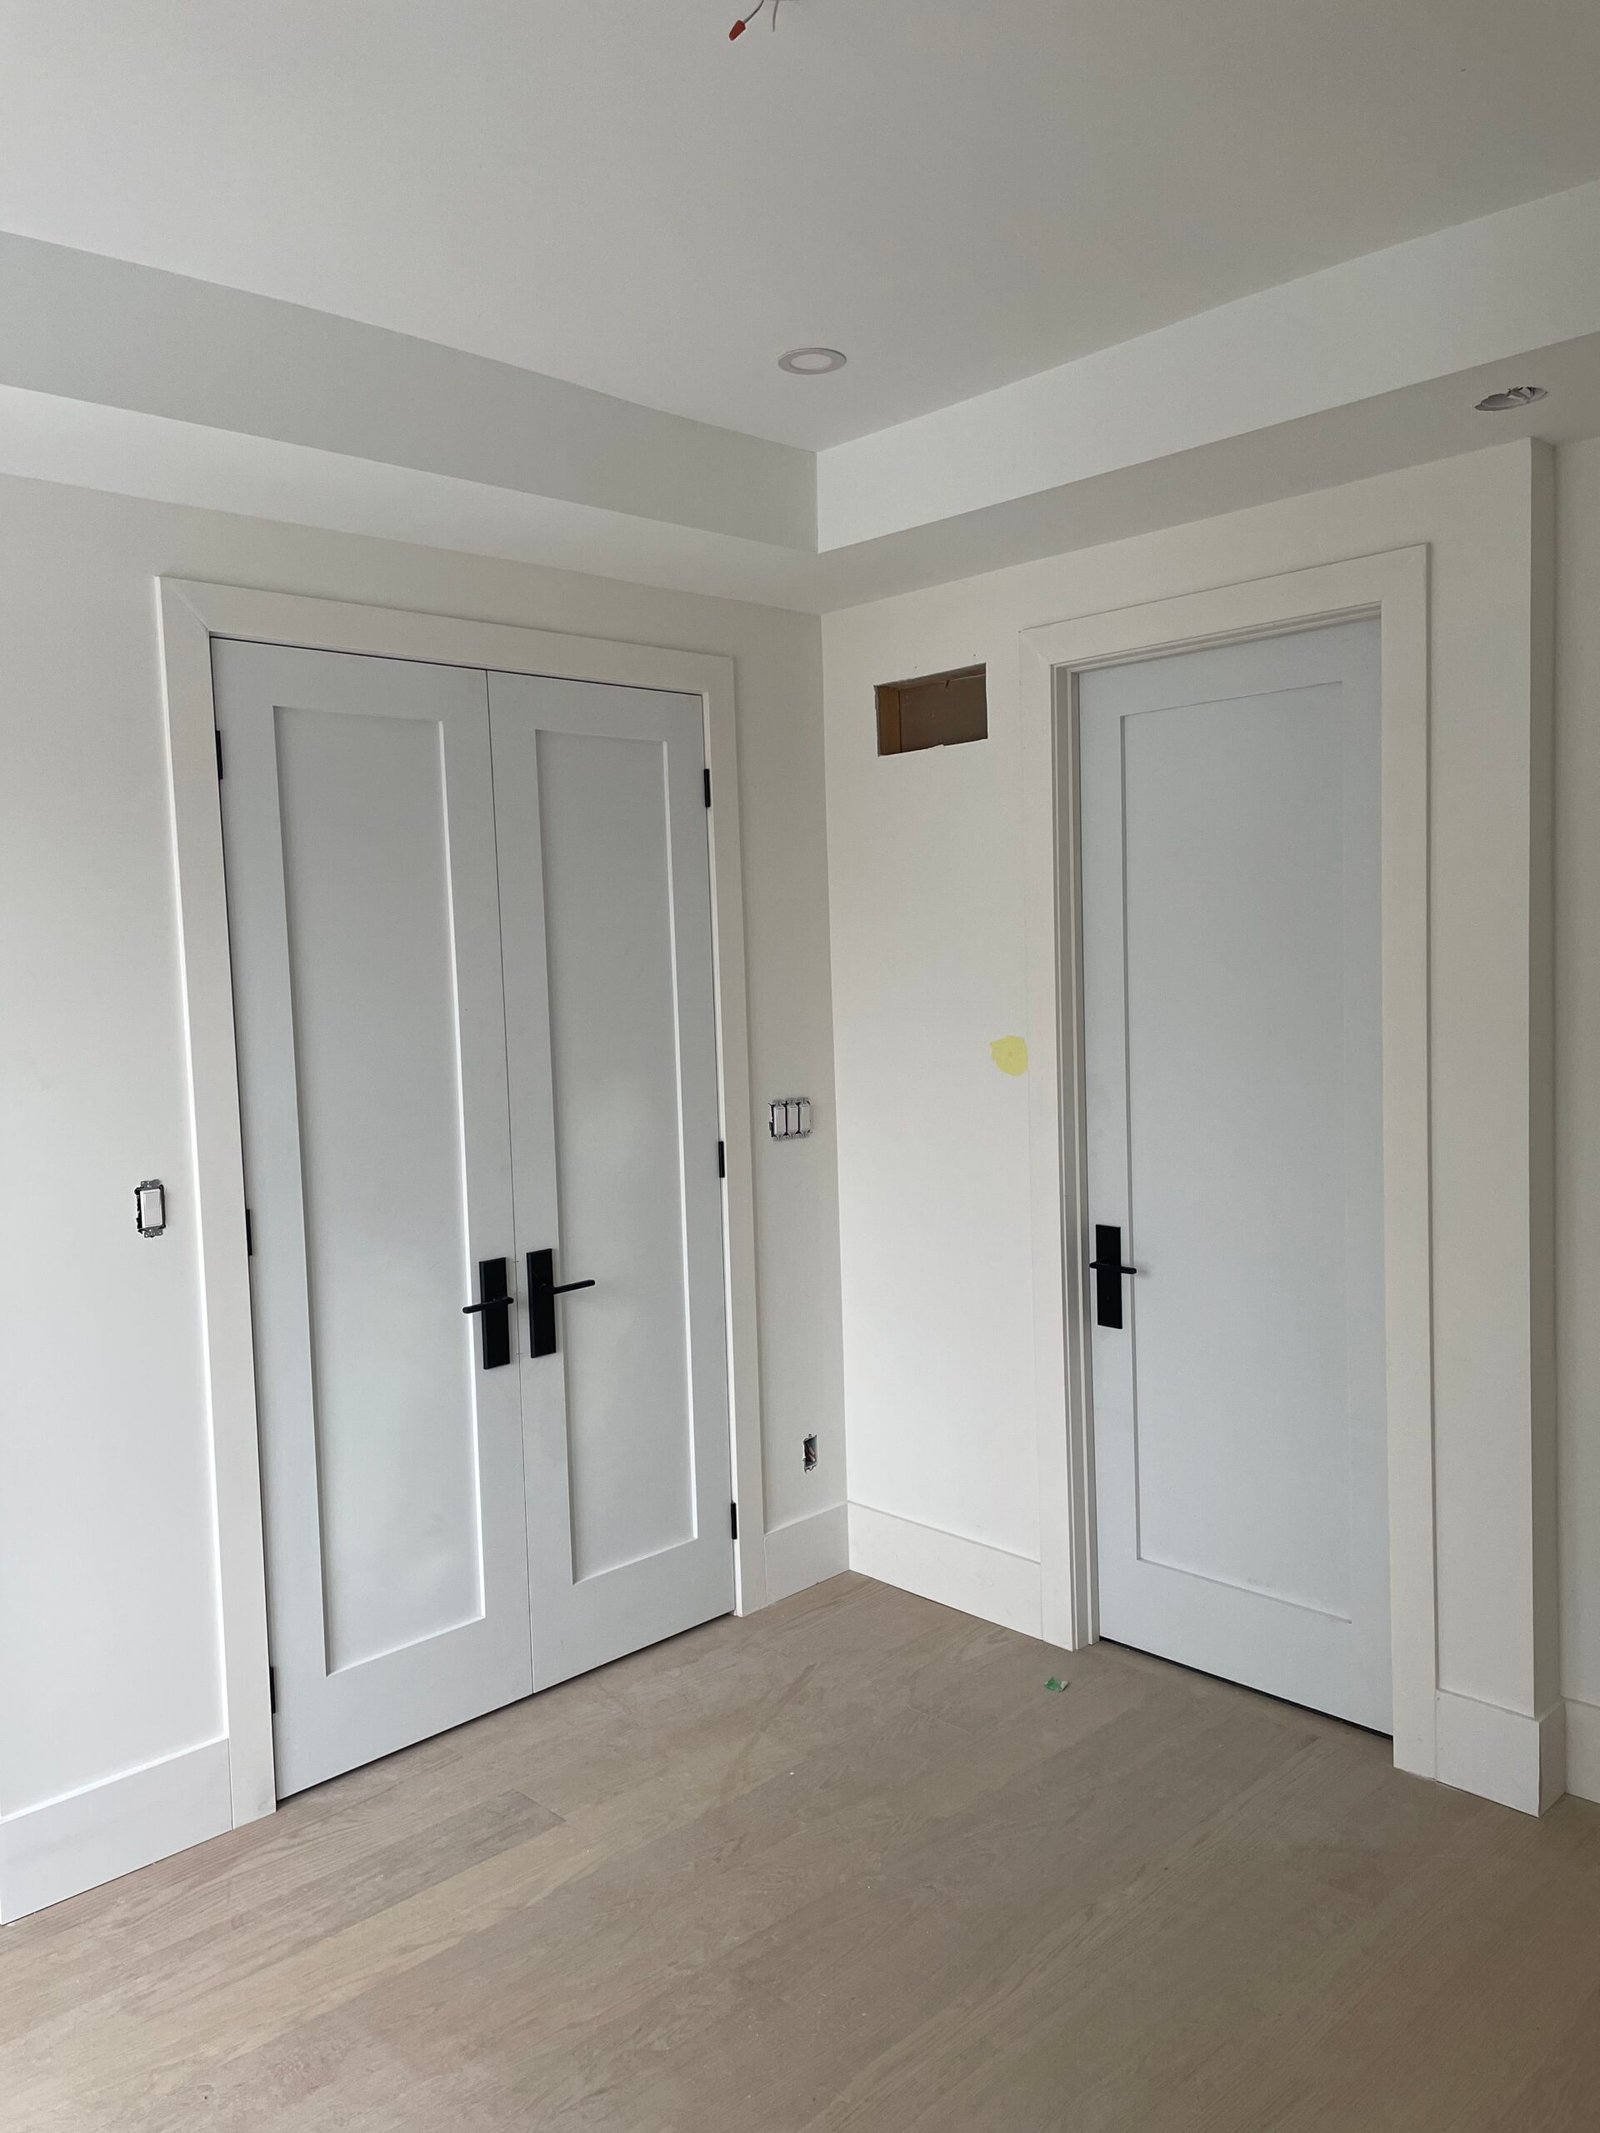
Pre-hung doors offer many advantages for interior door replacement projects. They streamline the process and save time.
With the frame included, there’s no need for complicated assembly. This makes them a great option for DIY enthusiasts. Installation becomes a straightforward task.
Consider these additional benefits:
- Faster installation time
- Less skill required
- Consistent fit and alignment ( If the floor is level )
- Greater availability in various styles and materials

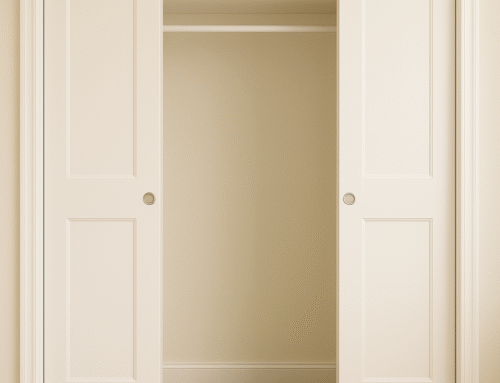
These doors come in both solid and hollow core variations. This allows you to choose based on soundproofing needs and budget. Solid core doors are heavier and more insulating. Hollow core options are lighter and often more affordable. The ability to choose makes them versatile for any room.
Tools and Materials Needed
Having the right tools is essential for pre-hung interior door installation. Gathering these items in advance helps streamline the project.
You’ll need basic tools found in most toolkits, but some specific items are key. Here’s a convenient list of what’s necessary:
- Tape measure
- Level
- Hammer and nails
- Screwdriver
- Shims
- Saw
- Screws
Measuring and Preparing the Door Opening
Accurate measurements are critical when preparing for a pre-hung interior door installation. Incorrect dimensions can lead to complications during the installation process. Begin by measuring the width, height, and depth of the existing door opening using a reliable tape measure.
For width, measure at three points: top, middle, and bottom of the frame. Ensure the smallest measurement is noted, which will guide your selection of the pre-hung door. This prevents any tight fits that could hinder operation.
Next, measure the height from the floor to the top of the opening. Again, take multiple measurements and use the smallest. Ensure to consider any flooring that may be added later. You should also check the depth of the rough opening to ensure the door frame fits snugly.
A good rule of thumb for spacing is you want to have a good 2 inch space from top to bottom, For example is the rough opening is 32 inch, a 30″ would be used in that opening. This is assuming we are using 5/8″ thickness jambs.
Create a checklist to confirm your measurements:
- Width: top, middle, bottom
- Height: floor to top
- Depth: side to side
Removing the Old Door and Frame
Before installing your new pre-hung door, you need to remove the existing door and frame carefully. Start by taking off the existing door from its hinges using a screwdriver. Ensure you support the door while removing the last hinge screw to prevent it from falling.
Once the door is removed, proceed to take out the door frame. This involves removing any trim or casing around the door frame with a pry bar. Work gently to avoid damaging the surrounding wall or paint, especially if you plan to reuse the trim.
After removing the trim, carefully detach the old door frame using a pry bar, if necessary. Cut through any nails or screws holding the frame in place, then gently pull out the frame. Ensure the area is clean and free from debris before proceeding.
Inspecting and Adjusting the Rough Opening
Before installing a pre-hung door, it’s crucial to inspect the rough opening. This step ensures the opening is in good shape for the new frame. Use a level to verify that the opening is both plumb and level. This helps in achieving a seamless installation.
If the opening is out of alignment, adjustments must be made. Shims are your best friend here. Insert them into the areas needing adjustment until the level shows a perfect line. This simple step will prevent long-term door operation issues.
Next, check for any obstructions or damage within the opening. Old nails, fragments of wood, and drywall residue should be removed. A vacuum cleaner can be handy for clearing small debris. Once your rough opening is clear, straight, and level, you’re ready to proceed.
Checklist for inspecting and adjusting the rough opening:
- Check for plumb and level
- Adjust with shims if needed
- Clear debris and obstructions
Shimming and Leveling the Door Frame
Once satisfied with the dry fit, shimming is the next crucial step. Shims help fill gaps and align the door frame. Begin on the hinge side, as it must be perfectly plumb for smooth operation.
Insert shims between the door frame and the wall at the hinge points. Adjust each shim until the frame is level and plumb. Proper shimming ensures even gaps and a professional finish.
It’s essential to check the frame’s alignment along the top and latch side. A level is your best friend here. Use it to confirm everything is straight. If corrections are needed, use additional shims.
Steps for Shimming and Leveling:
- Insert shims at hinge points
- Check alignment with a level
- Adjust for even gaps
Never rush this process, as accurate shimming prevents future door issues. Remember, patience now saves trouble later. Take your time to achieve the perfect fit.

Securing the Door Frame
With shimming complete, it’s time to secure the door frame. Begin by driving screws through the frame into the stud. Start with the top hinge area for increased stability.
Ensure screws are long enough to anchor into the wall studs. This avoids loosening over time. Once the top is secure, move to the bottom hinge, then the latch side.
Observe caution while tightening screws to prevent frame distortion. Over-tightening may warp the frame, affecting door function.
Key Steps to Secure the Frame:
- Insert screws into the top hinge area
- Use screws long enough to reach studs
- Secure bottom hinge and latch side
Test door operation throughout for proper alignment. Ensure it swings smoothly and closes without sticking. Adjust screws as needed for optimal fit.
A well-secured frame lays the foundation for a long-lasting door. Take the time to check each screw and test often.
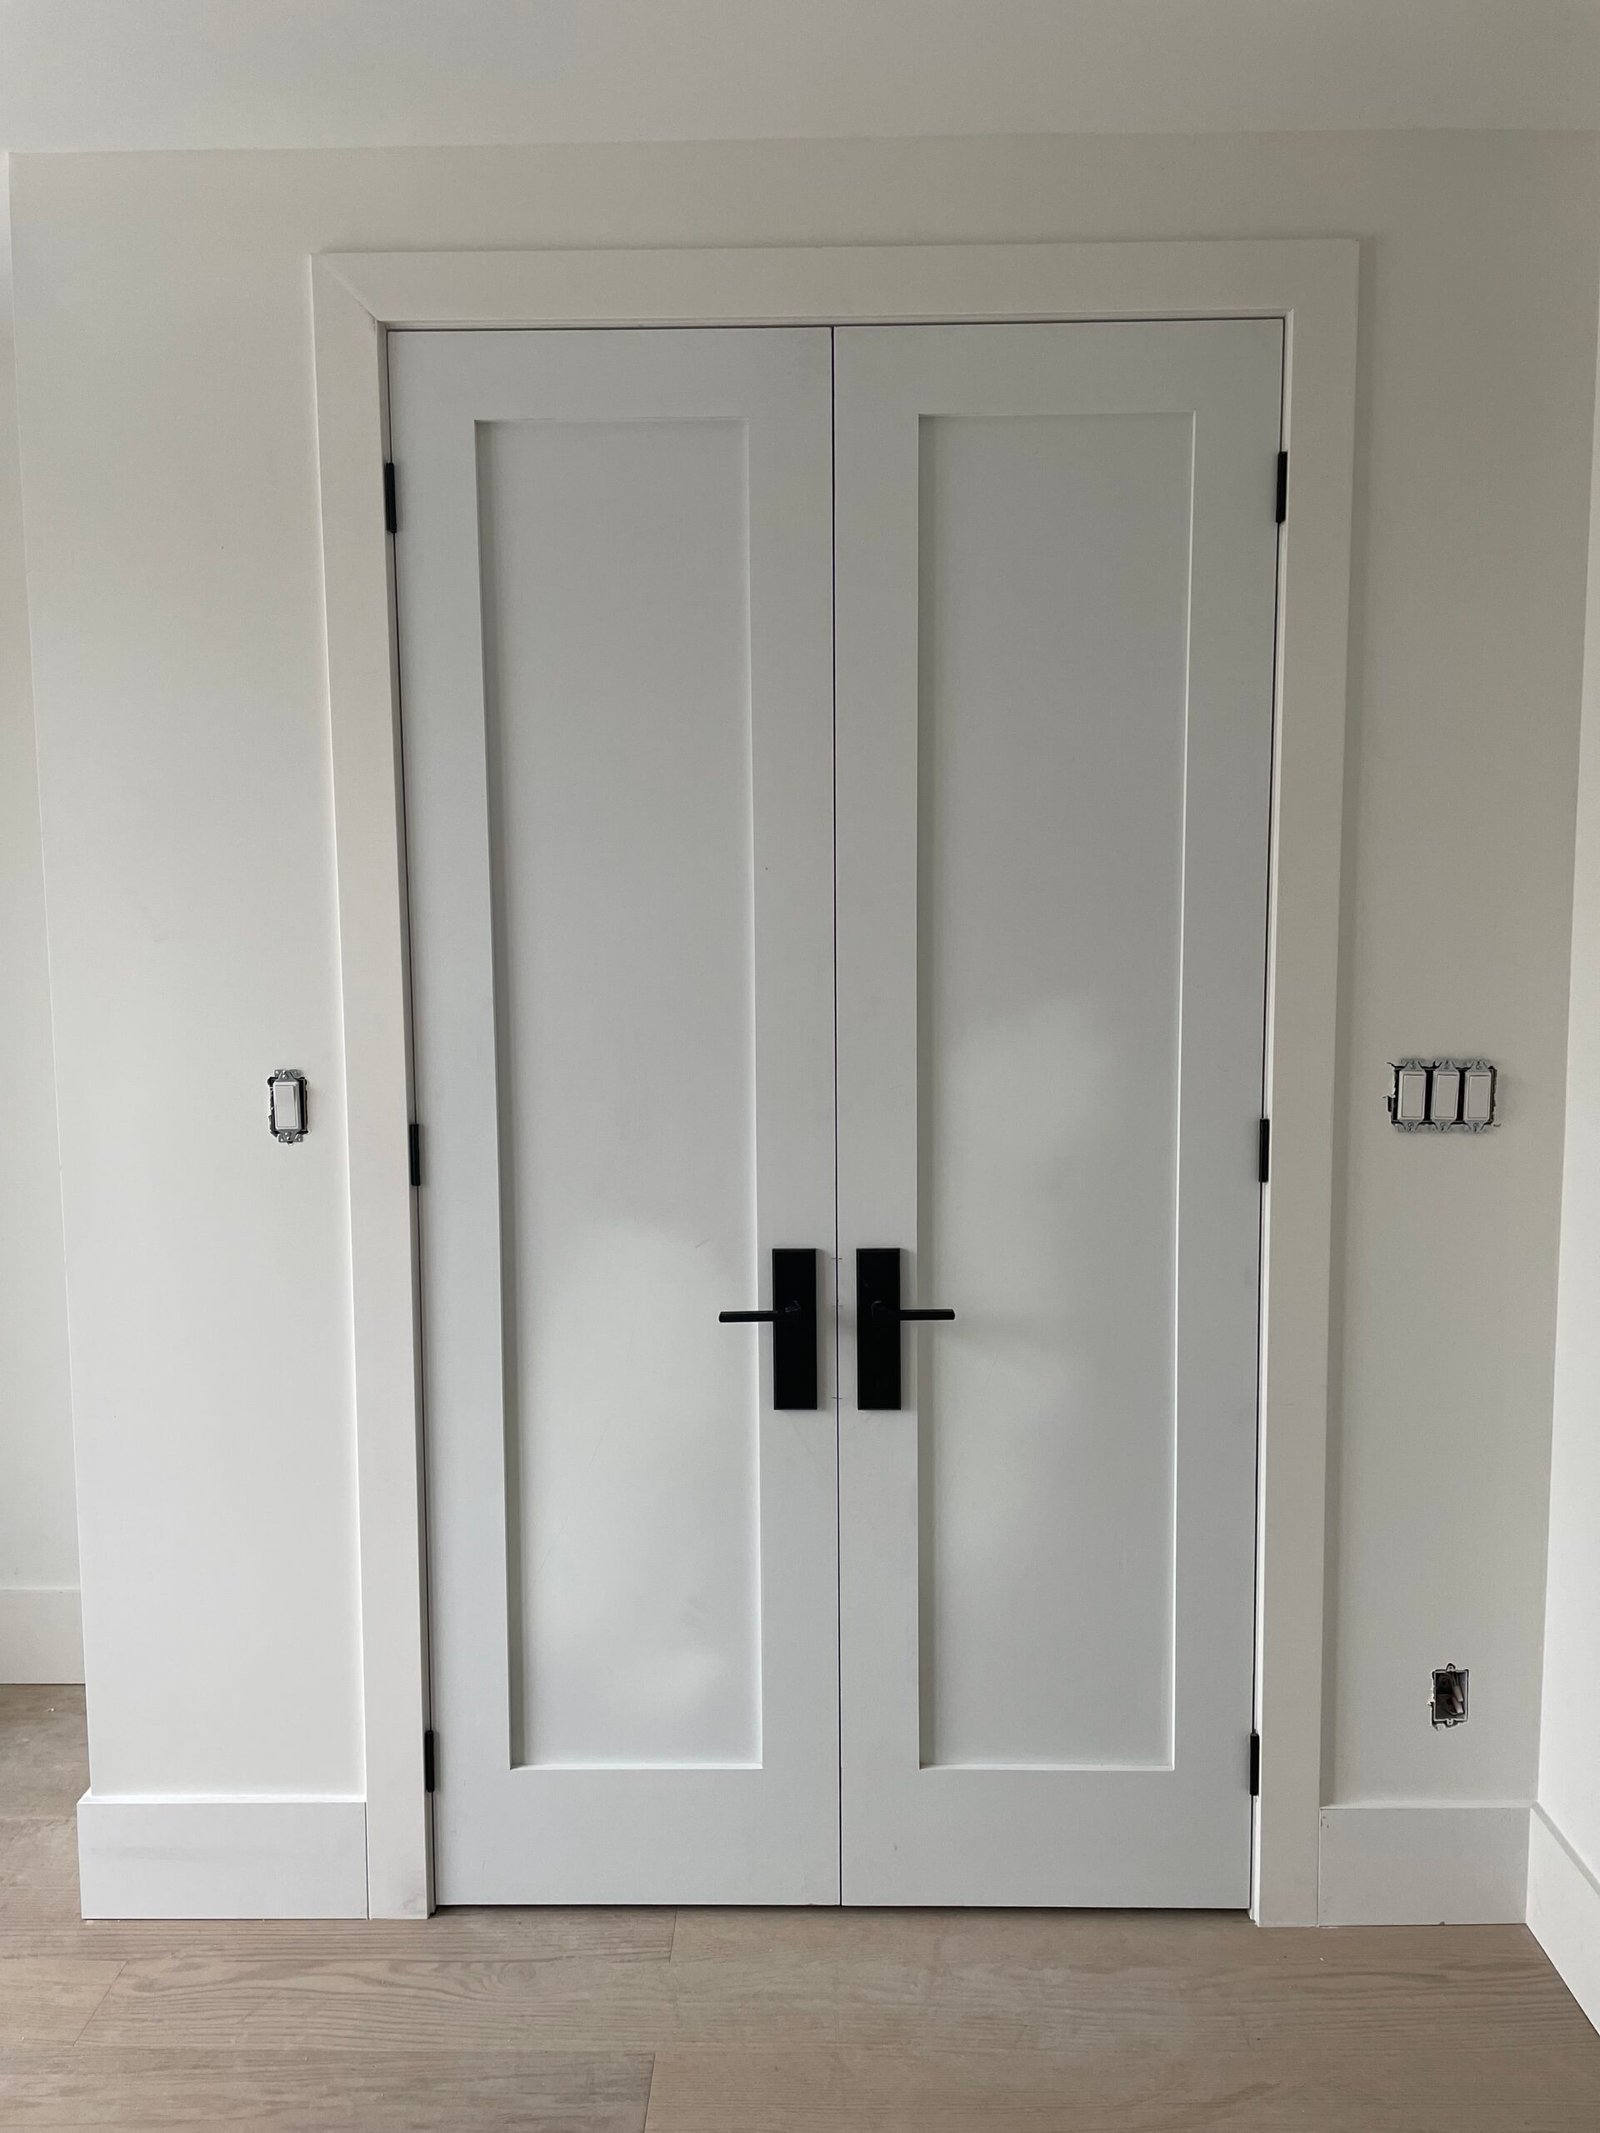
Installing Door Hardware and Trim
With the door properly adjusted, it’s time to install the hardware. Begin by mounting the handle and lockset. Refer to the manufacturer’s instructions for precise installation details.
Align the lockset with pre-drilled holes on the door. Ensure all components fit snugly. Tighten the screws firmly, but avoid over tightening, which can cause damage.
Once the hardware is in place, focus on the trim. Trimming completes the door’s appearance, hiding any gaps between the frame and wall. Measure and cut the trim pieces for a clean fit.
Steps for Installing Trim:
- Measure accurately for each piece
- Cut with a saw for precision
- Nail into place with finishing nails
Use a level to ensure all trim pieces are straight. Apply caulk along the edges for a seamless look and wood filler for all the holes and joint corners.
Painting or Staining the Door (Optional)
The pre hung doors typically come primed already from the manufacturer but enhancing the door’s look with paint or stain can add a personal touch. Whether you paint or stain, prepare the surface first. Clean the door and lightly sand to remove any imperfections.
Select a color or stain that complements your home’s decor. This step not only beautifies but also protects the door surface from wear and tear.
Steps for Finishing:
- Clean thoroughly
- Sand gently for a smooth finish
- Apply paint or stain evenly
Consider using a primer if you choose to paint. Stains usually require multiple coats for a richer color. Follow drying instructions to avoid smudges and ensure a durable finish.
Frequently Asked Questions About Pre-Hung Interior Door Installation
Many homeowners have questions about pre-hung interior door installation. Addressing these concerns ensures a smooth installation process. Here are some common queries:
Common Questions:
- What are pre-hung doors? Pre-hung doors come attached to a frame, simplifying installation.
- Do I need special tools? Level, tape measure, screwdriver and nail gun
- Can I install them myself? Yes, with patience and the right guidance.
Conclusion: Enjoy Your New Pre-Hung Door
Installing a pre hung door or changing a door can be challenging without the proper knowledge, we specialize in interior door installation in Toronto and surrounding areas. With over 25+ years of experience and thousands of completed project we have extensive door installation knowledge to make this process stress free. Jk luxury home remodeling offers both doors and installation, providing you with a complete door installation package from A-Z
Ready to get Started? We offer Free Design Consultation & Estimates – Get Started Today
(647)-522-0939 or email us at aisalesinc1@gmail.com
Leave A Comment